为什么要用h5建站大连网站制作
pytorch的hook机制允许我们在不修改模型class的情况下,去debug backward、查看forward的activations和修改梯度。hook是一个在forward和backward计算时可以被执行的函数。在pytorch中,可以对Tensor和nn.Module添加hook。hook有两种类型,forward hook和backward hook。
1. 对Tensors添加hook
对于Tensors来说,只有backward hook,没有forward hook。对于backward hook来说,其函数输入输出形式是 hook(grad) -> Tensor or None。其中,grad是pytorch执行backward之后,一个tensor的grad属性值。
例如:
import torch
a = torch.ones(5)
a.requires_grad = Trueb = 2*a
c = b.mean()
c.backward()print(f'a.grad = {a.grad}, b.grad = {b.grad}')
输出:
a.grad = tensor([0.4000, 0.4000, 0.4000, 0.4000, 0.4000]), b.grad = None
由于b不是叶子节点,因此在计算完梯度后,b的grad会被释放。因此,b.grad=None。这里,我们要显式的指定不释放掉非叶子节点的grad。代码改为下面这样:
import torch
a = torch.ones(5)
a.requires_grad = Trueb = 2*ab.retain_grad()   # 让非叶子节点b的梯度保持
c = b.mean()
c.backward()print(f'a.grad = {a.grad}, b.grad = {b.grad}')
输出:
a.grad = tensor([0.4000, 0.4000, 0.4000, 0.4000, 0.4000]), b.grad = tensor([0.2000, 0.2000, 0.2000, 0.2000, 0.2000])
我们可以通过加print的方式来查看一个tensor的梯度值,也可以通过加hook的方式来实现这点。
import torcha = torch.ones(5)a.requires_grad = Trueb = 2*aa.register_hook(lambda x:print(f'a.grad = {x}'))
b.register_hook(lambda x: print(f'b.grad = {x}'))  c = b.mean()c.backward()
输出:
b.grad = tensor([0.2000, 0.2000, 0.2000, 0.2000, 0.2000])
a.grad = tensor([0.4000, 0.4000, 0.4000, 0.4000, 0.4000])
使用hook的一个好处是:代码中的b.retain_grad() # 让非叶子节点b的梯度保持 这句可以删除掉,同样可以记录到非叶子节点的值。对于不方便修改源码的程序,可以通过对tensors添加hook查看梯度。同时,.retain_grad()操作会增加显存的使用。
另外一点对Tensors使用hook的好处是,可以对backward时的梯度进行修改。来看一个更加实际具体的例子:
import torch
import torch.nn as nnclass myNet(nn.Module):def __init__(self):super().__init__()self.conv = nn.Conv2d(3,10,2, stride = 2)self.relu = nn.ReLU()self.flatten = lambda x: x.view(-1)self.fc1 = nn.Linear(160,5)def forward(self, x):x = self.relu(self.conv(x))# 修改反向传播时,conv输出的梯度不小于0x.register_hook(lambda grad : torch.clamp(grad, min = 0))# 打印确认是否有小于0的梯度x.register_hook(lambda grad: print("Gradients less than zero:", bool((grad < 0).any())))  return self.fc1(self.flatten(x))net = myNet()for name, param in net.named_parameters():# 使用named_parameters对fc和bias添加修改,使其梯度全部为0if "fc" in name and "bias" in name:param.register_hook(lambda grad: torch.zeros(grad.shape))out = net(torch.randn(1,3,8,8)) (1 - out).mean().backward()print("The biases are", net.fc1.bias.grad)
输出为:
Gradients less than zero: False
The biases are tensor([0., 0., 0., 0., 0.])
2. 对nn.Module添加hook
对nn.Module添加hook的函数输入输出形式为:
backward hook:hook(module, grad_input, grad_output) -> Tensor or None
forward hook:hook(module, input, output) -> None
对nn.Module添加backward hook,非常容易造成困扰。看下面的例子:
import torch
import torch.nn as nnclass myNet(nn.Module):def __init__(self):super().__init__()self.conv = nn.Conv2d(3,10,2, stride = 2)self.relu = nn.ReLU()self.flatten = lambda x: x.view(-1)self.fc1 = nn.Linear(160,5)def forward(self, x):x = self.relu(self.conv(x))return self.fc1(self.flatten(x))net = myNet()def hook_fn(m, i, o):print(m)print("------------Input Grad------------")for grad in i:try:print(grad.shape)except AttributeError: print ("None found for Gradient")print("------------Output Grad------------")for grad in o:  try:print(grad.shape)except AttributeError: print ("None found for Gradient")print("\n")net.conv.register_backward_hook(hook_fn)
net.fc1.register_backward_hook(hook_fn)
inp = torch.randn(1,3,8,8)
out = net(inp)(1 - out.mean()).backward()
输出为:
Linear(in_features=160, out_features=5, bias=True)
------------Input Grad------------
torch.Size([5])
torch.Size([5])
------------Output Grad------------
torch.Size([5])Conv2d(3, 10, kernel_size=(2, 2), stride=(2, 2))
------------Input Grad------------
None found for Gradient
torch.Size([10, 3, 2, 2])
torch.Size([10])
------------Output Grad------------
torch.Size([1, 10, 4, 4])
可以看到对nn.Module添加的backward hook,对于Input Grad和Output Grad,对于弄清其具体指代的梯度,是比较难以搞清楚的。
对nn.Module添加forward hook,对于我们查看每层的激活值(输出,activations)是非常方便的。
import torch
import torch.nn as nnclass myNet(nn.Module):def __init__(self):super().__init__()self.conv = nn.Conv2d(3,10,2, stride = 2)self.relu = nn.ReLU()self.flatten = lambda x: x.view(-1)self.fc1 = nn.Linear(160,5)self.seq = nn.Sequential(nn.Linear(5,3), nn.Linear(3,2))def forward(self, x):x = self.relu(self.conv(x))x = self.fc1(self.flatten(x))x = self.seq(x)net = myNet()
visualisation = {}def hook_fn(m, i, o):visualisation[m] = o def get_all_layers(net):for name, layer in net._modules.items():#If it is a sequential, don't register a hook on it# but recursively register hook on all it's module childrenif isinstance(layer, nn.Sequential):get_all_layers(layer)else:# it's a non sequential. Register a hooklayer.register_forward_hook(hook_fn)get_all_layers(net)out = net(torch.randn(1,3,8,8))# Just to check whether we got all layers
print(visualisation.keys())      #output includes sequential layers
print(visualisation)
输出为:
dict_keys([Conv2d(3, 10, kernel_size=(2, 2), stride=(2, 2)), ReLU(), Linear(in_features=160, out_features=5, bias=True), Linear(in_features=5, out_features=3, bias=True), Linear(in_features=3, out_features=2, bias=True)]){Conv2d(3, 10, kernel_size=(2, 2), stride=(2, 2)): tensor([[[[ 0.8381, 0.3751, 0.0268, -0.1155],[-0.2221, 1.1316, 1.1800, -0.1370],[ 1.1750, -0.6800, -0.1855, 0.3174],[-0.3929, 0.1941, 0.8611, -0.4447]],[[ 0.2377, 0.5215, 1.2715, -0.1600],[-0.7852, -0.2954, -0.0898, 0.0045],[-0.6077, -0.0088, -0.0572, -0.4161],[-0.6604, 0.7242, -0.7878, 0.0525]],[[-0.7283, -0.2644, -1.0609, 0.4960],[ 0.7989, -1.2582, -0.4996, 0.4377],[ 0.0798, 1.3804, -0.2886, -0.1540],[ 1.4034, -0.6836, -0.0658, 0.5268]],[[-0.6073, -0.3875, -0.3015, 0.7174],[-1.2842, 0.7734, -0.6014, 0.4114],[-0.3582, -1.4564, -0.6590, -1.0223],[-0.7667, 0.6816, 0.0602, -0.2622]],[[-0.6175, -0.3179, -1.2208, -0.8645],[ 1.1918, -0.3578, -0.7223, -1.1834],[ 0.1654, -0.1522, 0.0066, 0.0934],[ 0.7423, -0.7827, 0.2465, 0.4299]],...[0.5625, 0.4753, 0.0000, 0.0000],[0.6904, 0.1533, 0.6416, 0.0000]]]], grad_fn=<ReluBackward0>),Linear(in_features=160, out_features=5, bias=True): tensor([-0.0816, -0.1588, -0.0201, -0.4695, 0.2911], grad_fn=<AddBackward0>),Linear(in_features=5, out_features=3, bias=True): tensor([-0.3199, 0.0220, -0.3564], grad_fn=<AddBackward0>),Linear(in_features=3, out_features=2, bias=True): tensor([ 0.5371, -0.5260], grad_fn=<AddBackward0>)}
下面通过一个例子来展示forward hook以及对hook出的activation进行可视化。
import torch
from torchvision.models import resnet34
from PIL import Image
from torchvision import transforms as T
import matplotlib.pyplot as pltdevice = torch.device('cuda') if torch.cuda.is_available() else torch.device('cpu')model = resnet34(pretrained=True)
model = model.to(device)# 定义hook
class SaveOutput:def __init__(self):self.outputs = []def __call__(self, module, module_in, module_out):self.outputs.append(module_out)def clear(self):self.outputs = []# 对Conv2d注册hook
save_output = SaveOutput()
hook_handles = []
for layer in model.modules():if isinstance(layer, torch.nn.modules.conv.Conv2d):handle = layer.register_forward_hook(save_output)hook_handles.append(handle)image = Image.open('cat.jpg')
transform = T.Compose([T.Resize((224, 224)), T.ToTensor()])
X = transform(image).unsqueeze(dim=0).to(device)out = model(X)print(len(save_output.outputs))  # 输出应该是36def module_output_to_numpy(tensor):return tensor.detach().to('cpu').numpy()    images = module_output_to_numpy(save_output.outputs[0])with plt.style.context("seaborn-white"):plt.figure(figsize=(20, 20), frameon=False)for idx in range(64):   # 这里根据输出通道数,不止可以索引到64,可以通过打印images的channels来查看最大的输出通道数plt.subplot(8, 8, idx+1)plt.imshow(images[0, idx])plt.setp(plt.gcf().get_axes(), xticks=[], yticks=[]);
matplotlib画出第一层的activation为:

我们修改代码如下,来查看比较靠后层的activation:
images = module_output_to_numpy(save_output.outputs[30]) # 将此处的索引改为30,查看第30层的activationwith plt.style.context("seaborn-white"):plt.figure(figsize=(20, 20), frameon=False)for idx in range(64): # 这里根据输出通道数,不止可以索引到64,可以通过打印images的channels来查看最大的输出通道数plt.subplot(8, 8, idx+1)plt.imshow(images[0, idx])plt.setp(plt.gcf().get_axes(), xticks=[], yticks=[]);

我们同样查看中间层,例如第15层的activation。
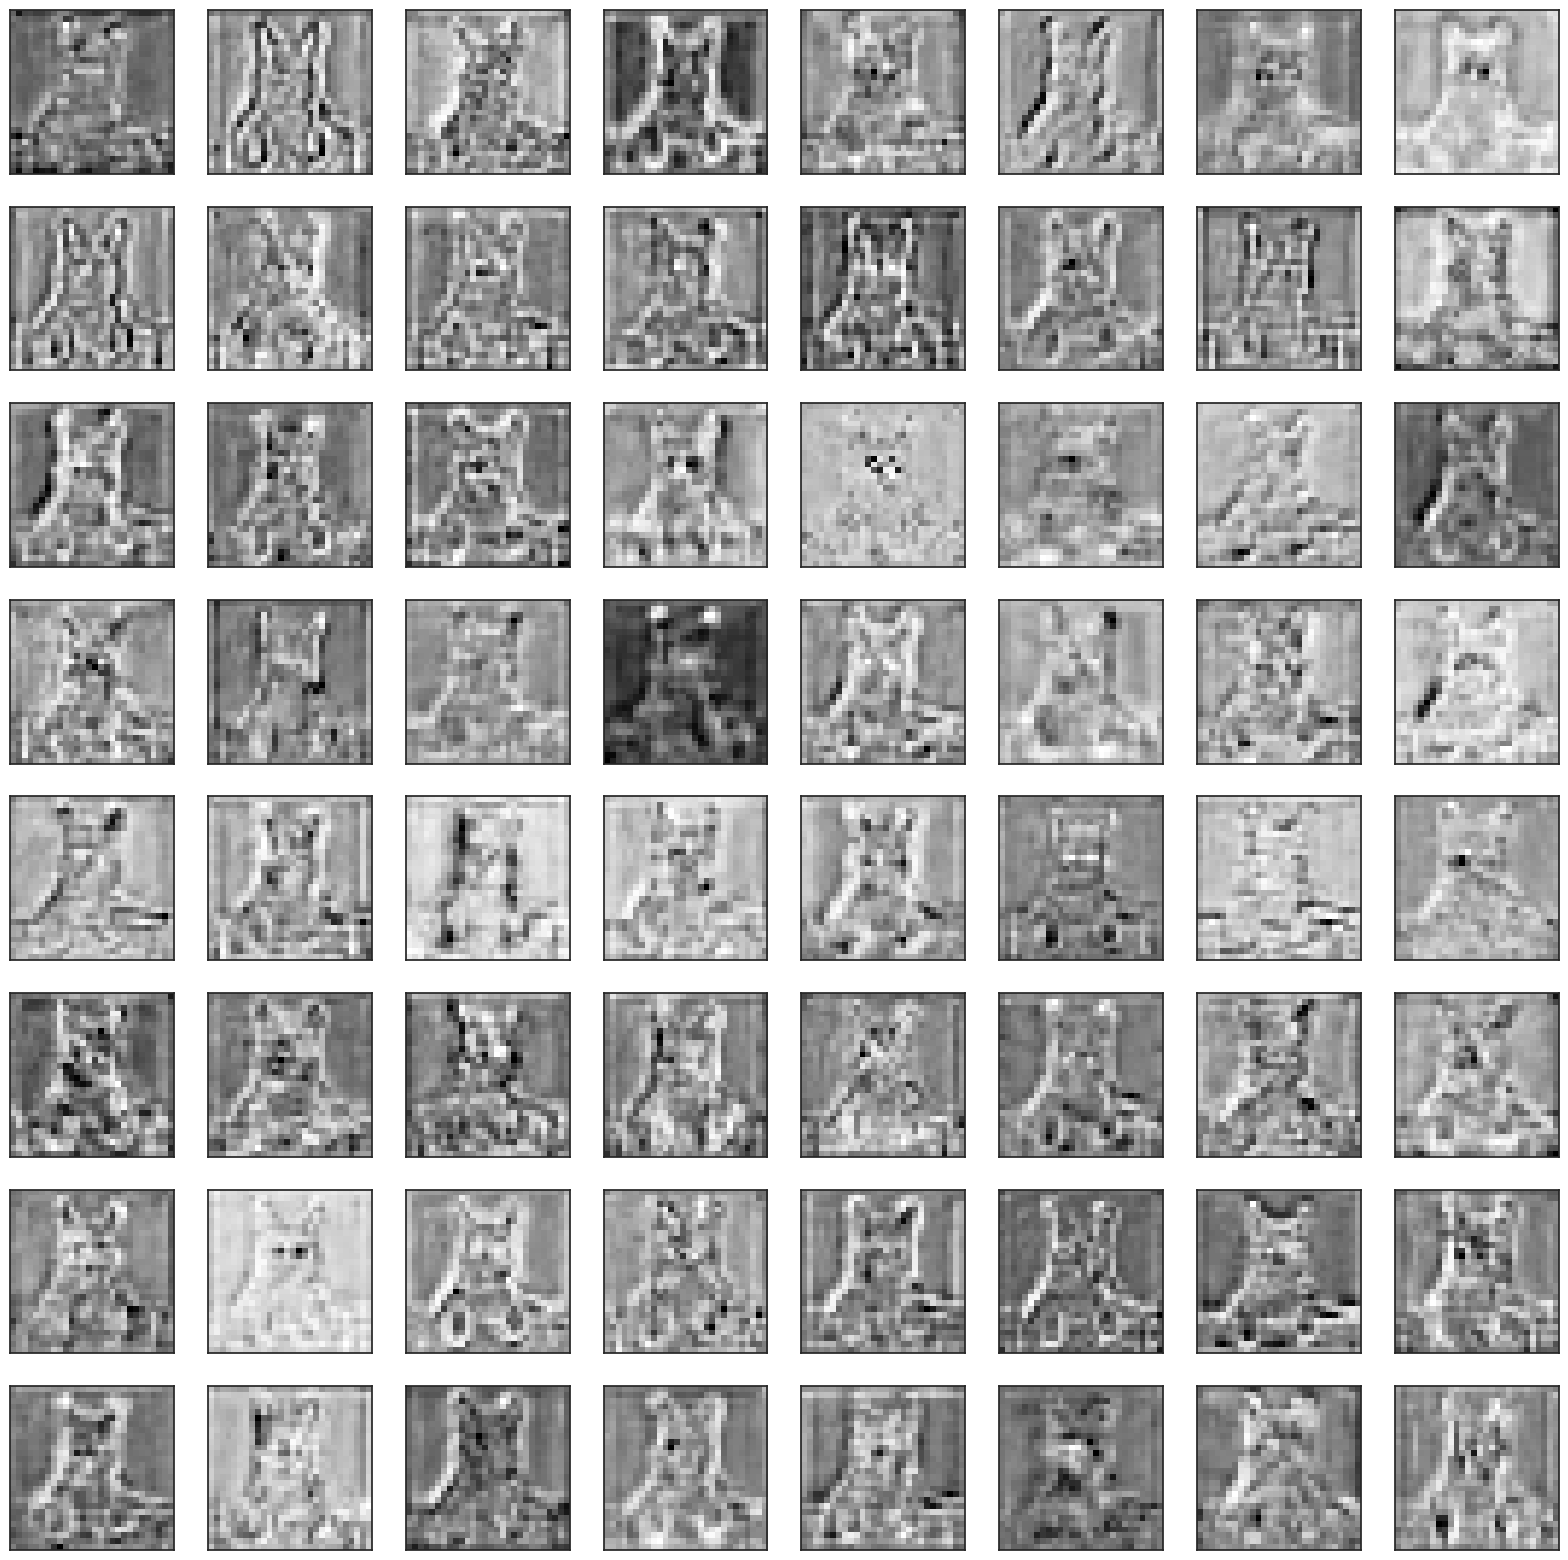
可以看到随着网络层的加深,activation越来越抽象。
除了上述的对forward加hook查看activation、对backward加hook、对Tensors加hook进行梯度相关的操作外,还可以参考kaggle的文章进行一些更深层次的理解,比如对backward过程的详细解释以及配合backward hook使用GRAD-CAM来查看网络等方法。